
Wix SDK
Making a [Linket] on a Wix website is easy

To see what one looks like, see the [Flowers] linket on this page:
https://linket.wixsite.com/home
The first step is to create an account on Wix.com. You can skip all the advanced options and go on to choose a template.
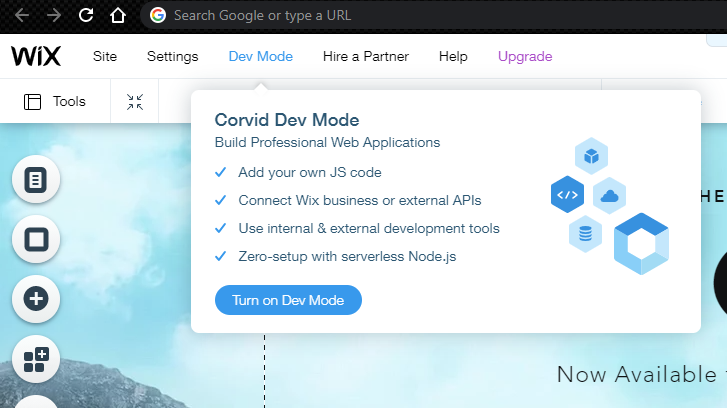
Once inside, go to the editing page. There, you will need to go into the developer mode. This can be done by selecting “Dev Mode” in the top menu and clicking “Turn on Dev Menu.”
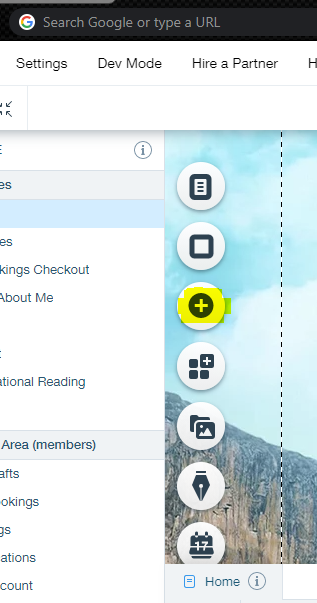
The second step is to add a button to the page. Buttons are hidden behind the large “+” button. Click the “+”
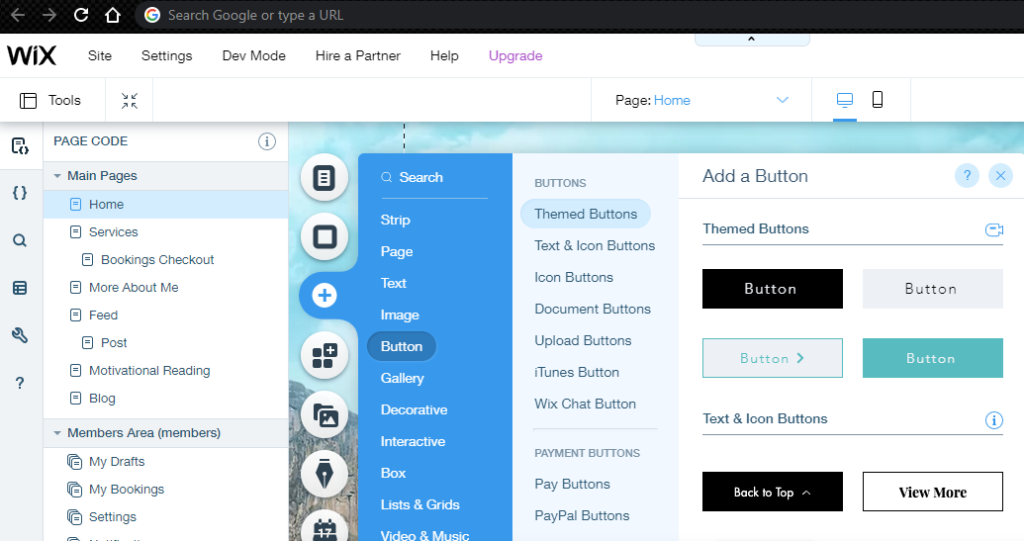
Then choose a button and drag it onto your canvas.
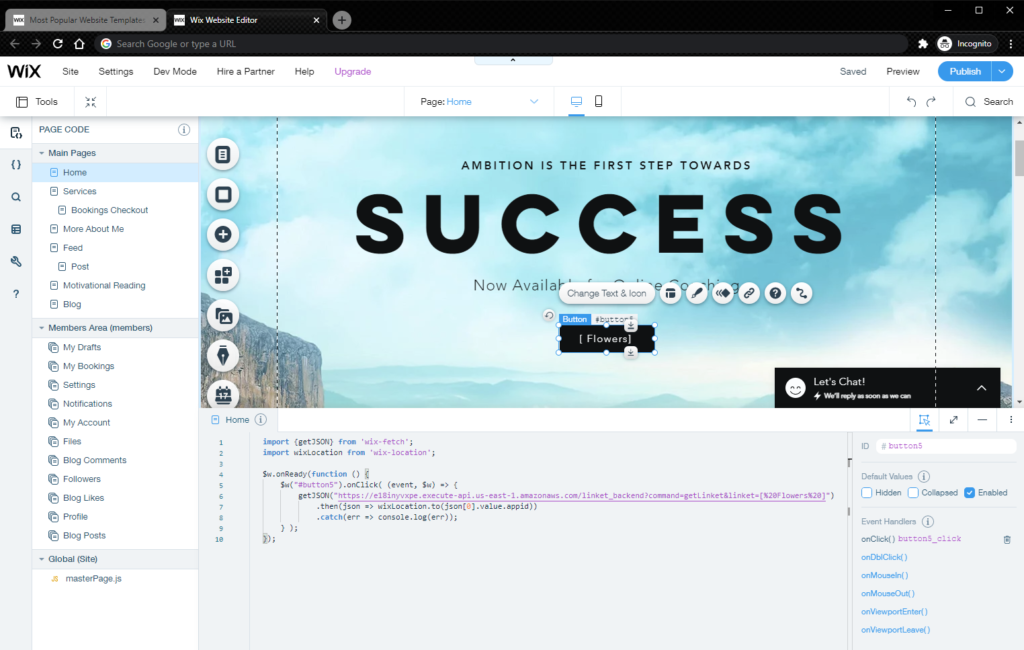
Now change the text of the button to be your [Linket]. In this case we are using [Flowers]. Notice on the bottom right, there is an ID for this element. We will need it later. You can see the ID on the next image.
At the bottom of the canvas, there is a place for Javascript code. Edit it so that it looks like this:
import {getJSON} from 'wix-fetch';
import wixLocation from 'wix-location';

$w.onReady(function () {
	$w("#button5").onClick( (event, $w) => {
		getJSON("https://e18inyvxpe.execute-api.us-east-1.amazonaws.com/linket_backend?command=getLinket&linket="[Flowers]")
			.then(json => wixLocation.to(json[0].value.appid))
			.catch(err => console.log(err));
	} );
});
This code needs to be updated. Change the word Flowers to be your [Linket] and change button5 to be the ID of the button you added earlier. At this point, your Wix page should look similar to this (except for the design):
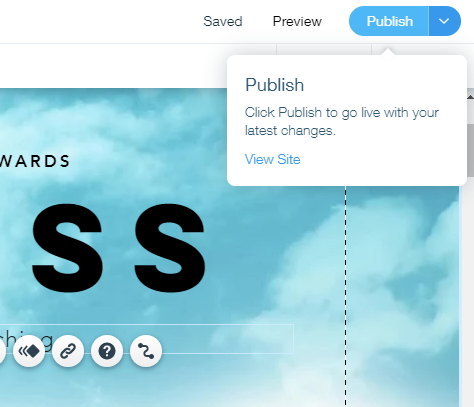
Finally, go to the top right and click Publish to make the page available on the Internet and then go to view your website.
Congratulations! Enjoy Your [Linket].

